How to clean up pixel art after converting a photo
Updated 17 November 2026
Your picture has turned into pixel art, but a few grey squares still cling to the outline. You do not need to start again. Remove what you can in the converter, then open the result in the editor to finish it square by square.
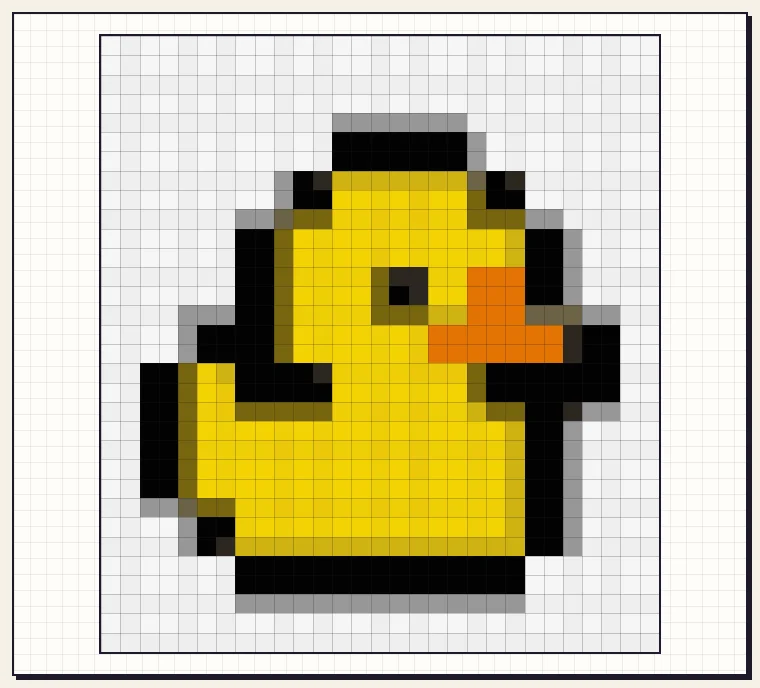
We will use a yellow duck drawing saved as a JPEG. Its background includes printed grid lines, so clearing the white paper leaves some grey squares around the duck. By the end, those squares will be gone and the duck will be ready to save as a transparent PNG.
1. Get the size and colours close first
Open the converter and add your picture with Choose image, or drop it into the preview. Choose the size and palette before you begin cleaning up. Changing the grid later can move the edges you have just repaired.
For this duck, we chose Detail, set Cells on the long side to 32, and used Free colour with Number of colours set to 12. The resulting grid is 29 x 32. Keep enough detail to recognise the subject, but do not worry about every small mark in the original.
2. Remove the plain background
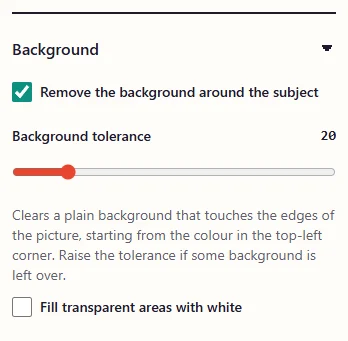
Open Background in the settings and tick Remove the background around the subject. The converter uses the colour in the top-left corner to find similar background areas connected to the picture's edges. It works best when that corner contains background rather than part of your subject.
Adjust Background tolerance while watching the preview. Raise it if background remains around the outside. Lower it if parts of the subject disappear. At 20, the pale background around our duck clears, leaving darker edge squares for us to check by hand. Your picture may need a different setting. Leave Fill transparent areas with white unticked if you want to keep empty areas transparent.
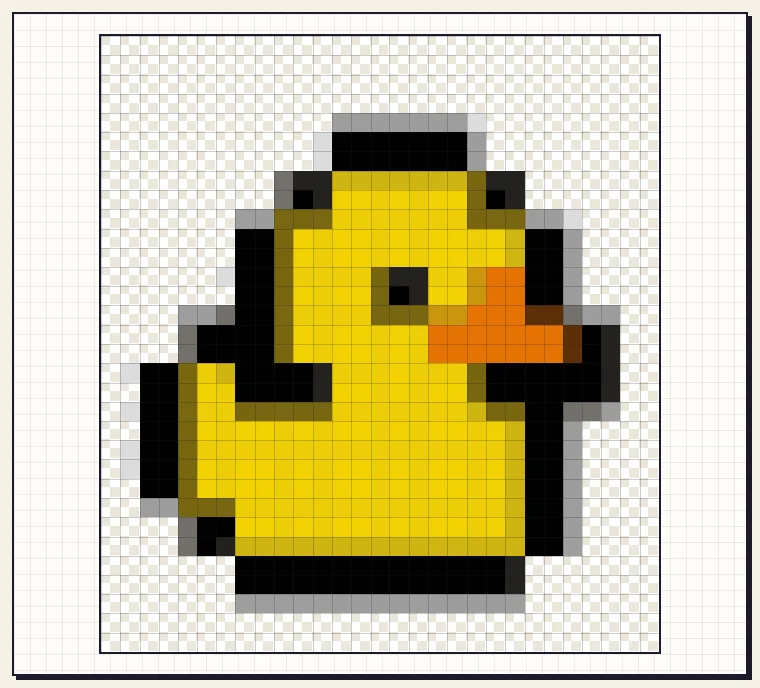
Here, the outside background clears, but a grey fringe stays beside the black outline and below the duck. Those squares are darker than the paper in the top-left corner. You can try a higher tolerance first. If you would rather decide exactly which edge squares to keep, switch to the editor as we do below.
3. Open the result with Edit pixels
Tap Edit pixels below the preview. The current pattern opens in the editor with its colours and empty cells intact. You do not need to download and upload it again. On a phone, scroll below the preview to find the button.
Treat this as your move from conversion to cleanup. Changes you make in the editor are separate from the converter. Save the finished version from the editor when you are done.
4. Erase only the bits you do not want
Select Eraser in the toolbar, below the canvas on a phone. On mobile, open Brush and grid settings to see the options. Set Brush to 1 x 1 for narrow gaps, and leave Grid on so you can see the edge of each square. Make sure both mirror options are off, otherwise an eraser stroke will also affect the other side of the drawing.

Tap or drag over the grey squares outside the duck. Follow the top of the head, the back, the tail and the bottom edge, keeping the black outline intact. A larger brush is useful for broad areas, but switch back to 1 x 1 near the subject. Erasing makes a cell empty; painting it white would leave a solid white patch in the downloaded image.
Use Zoom in if the cells are hard to tap, and Move to drag the view when the drawing no longer fits. Tap Fit to see the whole pattern again. Rulers shows row and column numbers without adding lines to the drawing. Check pale edge squares too: keep them if they help the shape, or erase them if they look like a leftover fringe of background.
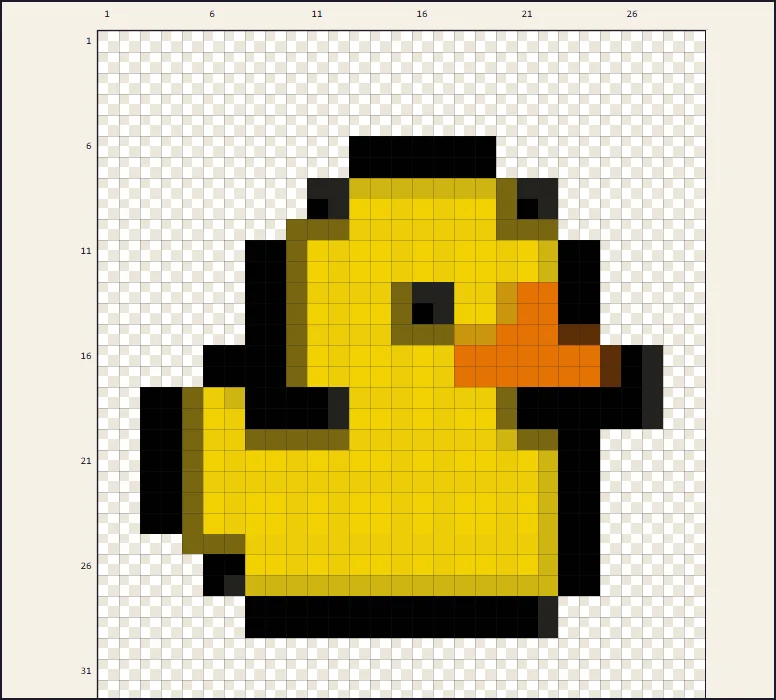
In this example, cleanup removes 65 filled cells. The pattern goes from 493 to 428 filled cells and from 12 to 9 used colours. The grid stays 29 x 32; we have cleared cells rather than resized the picture.
5. Check the result without the grid
If you erase part of the duck by mistake, tap Undo straight away. You can also use Pick to select a colour from a nearby filled cell, then paint a repair with Pencil. Picking a colour switches back to Pencil for you.

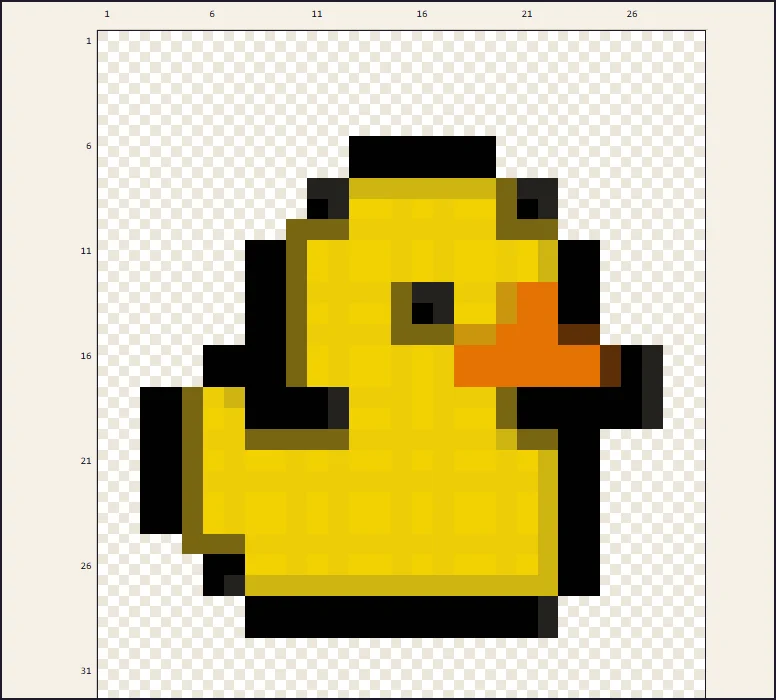
Turn Grid off and look at the whole drawing. Is the duck's outline continuous? Has part of its beak or tail gone missing? Are there isolated squares floating outside it? Switch the grid back on if you need to fix a spot, then check again without it.
6. Save the cleaned version
Enter a name and choose PNG size, then tap Download PNG. For our 29 x 32 duck, 16x gives an image 464 x 512 pixels. The squares get larger while their edges stay sharp, and empty cells remain transparent.
To keep an editable copy, open Make it by hand and use Copy pattern code. Store that code somewhere you can find it again. The editor also keeps a draft in this browser, but clearing browser data can remove it.
If you are making the pattern with thread or beads, use the updated counts and Download PDF chart in the editor. The chart will reflect your cleanup, including the cells you left empty.
What if most of the background is still there?
Manual erasing is best for a few remaining patches. If the background is busy or close to the subject's colour, try a tighter crop or a picture with a plainer background before converting again. If automatic removal keeps taking parts of the subject with it, lower the tolerance and leave those areas for the editor.
Ready to try it with your own picture?
Open the converter