How to draw a 16 x 16 pixel art sprite
Updated 17 November 2026
16 x 16 is the classic size for game characters, icons and stickers. It is small enough to finish in one sitting and big enough for a face. In this guide we draw a little green slime in the pixel editor, using mirror drawing to do half the work, then save it at its true size and as a large preview.
1. Start a 16 x 16 canvas
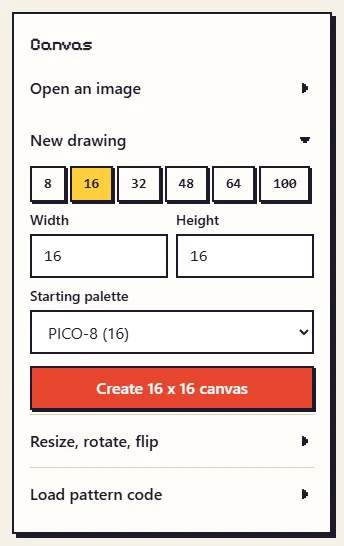
In the editor, open New drawing under Canvas, tap 16, and choose a starting palette. We used PICO-8: 16 colours picked for small game art, so every colour already works with the others. Click Create 16 x 16 canvas.
2. Draw the outline with mirror on
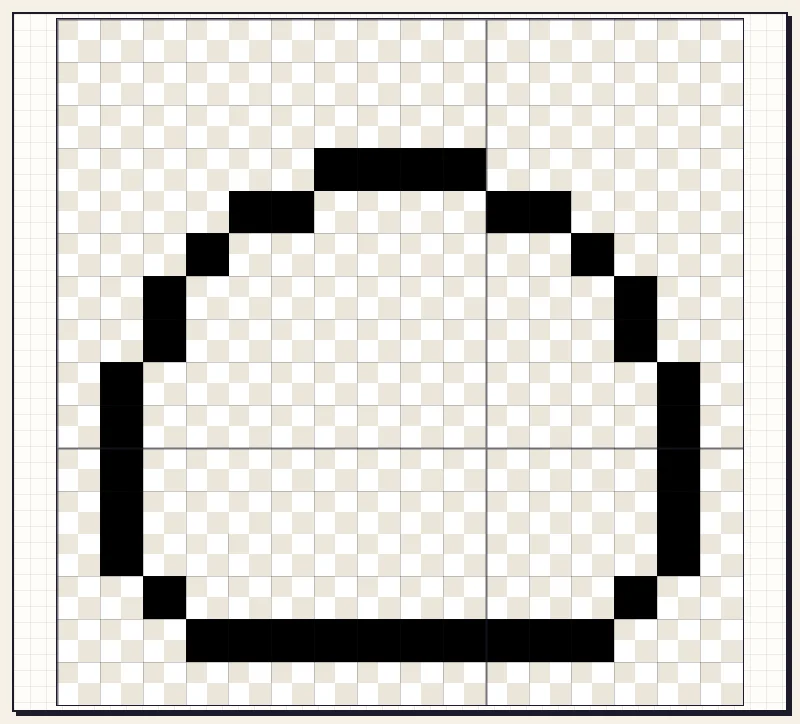
Most characters are the same on both sides, so tick Mirror left-right. Every square you paint on the left appears on the right as well. Choose black, pick the pencil, and click the outline of the left half, one square at a time.
18 clicks gave us the whole 36-square outline. Keep the outline one square thick and let the corners step diagonally, as here, so the shape looks round instead of jagged.
3. Fill the body
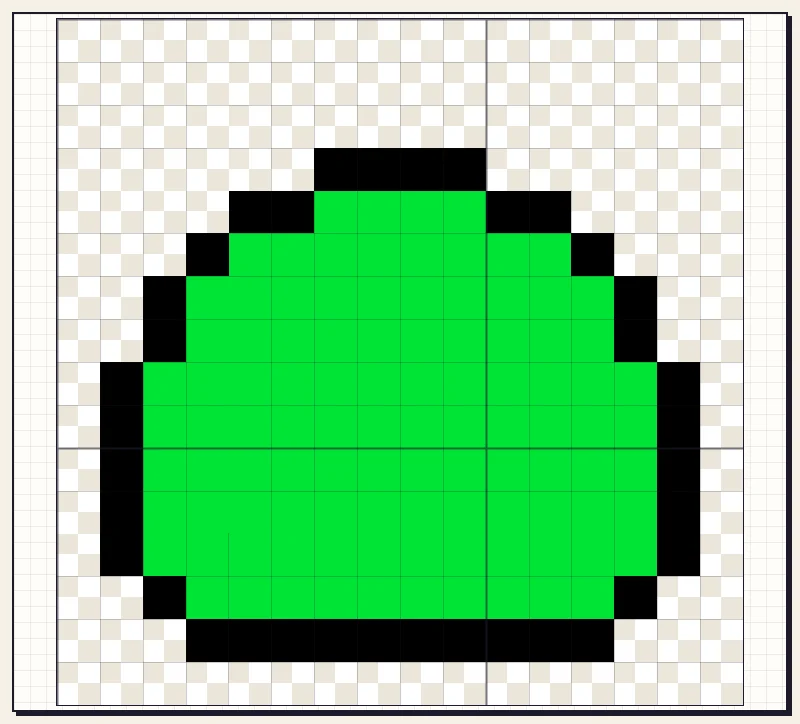
Pick green, choose the Fill tool, and click once inside the outline. Fill changes every touching empty square up to the black line, so a closed outline matters: one gap and the colour leaks outside.
4. Add shading and a face
Still mirrored, switch back to the pencil. A darker green along the bottom makes the slime look round and heavy. Two black squares for each eye, a two-square mouth and pink cheeks finish the face.
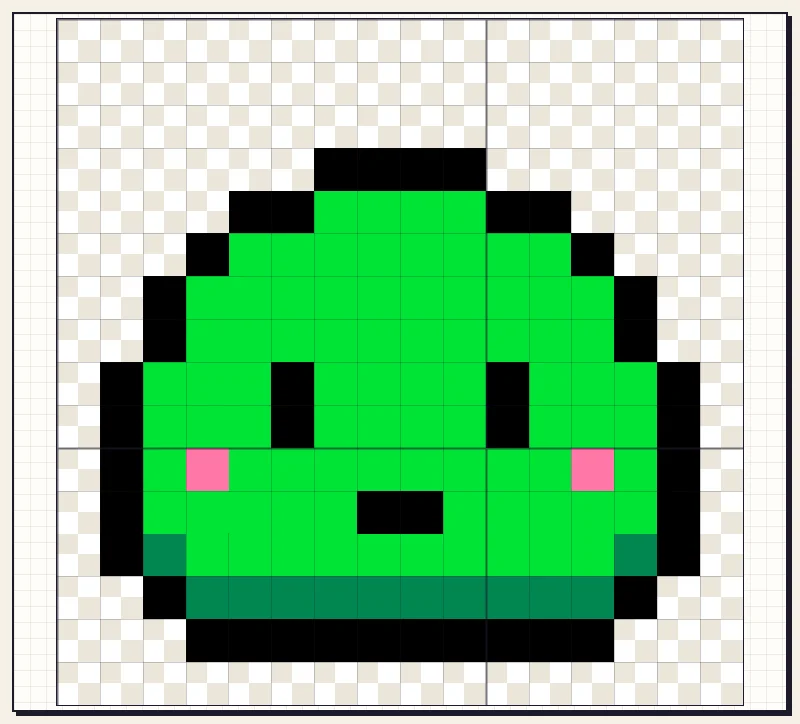
5. Turn mirror off for the highlight
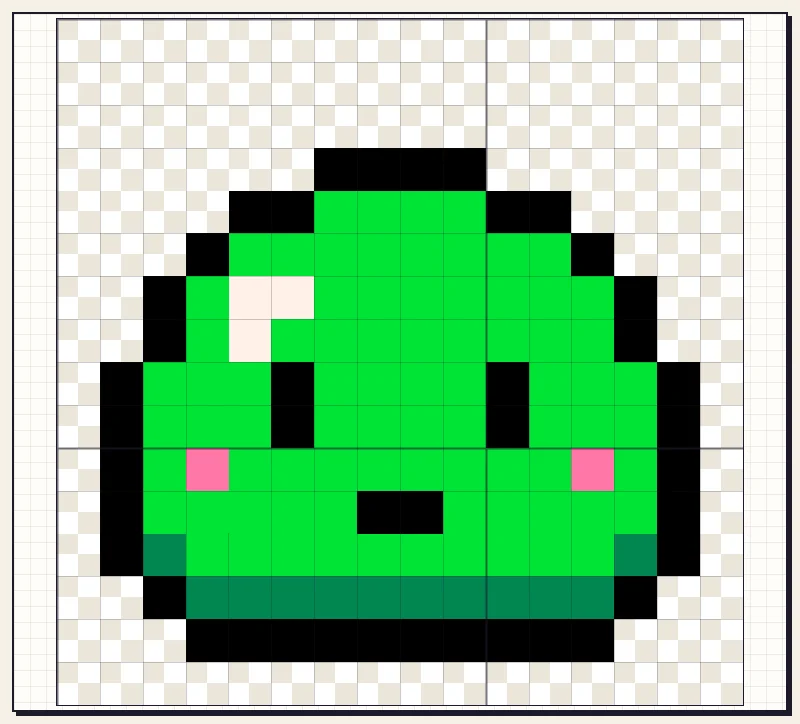
Light usually comes from one side. Untick Mirror left-right and add a small white highlight on the upper left only. That one detail makes the sprite look shiny instead of flat.
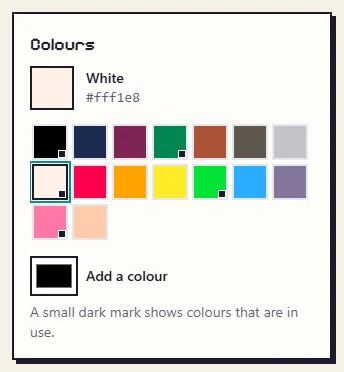
The palette shows a small dark mark on every colour in use. Our slime uses 5 of the 16 colours. Small sprites look best with few colours, usually 3 to 6.
6. Check it without the grid
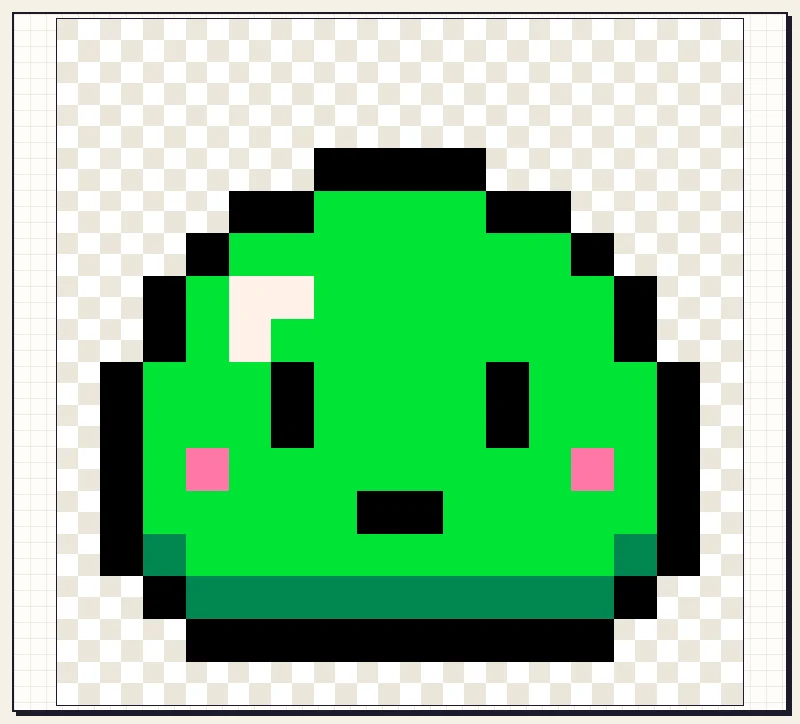
Untick Grid to see the sprite as others will. Zoom out with the minus key or button to check how it reads at a small size.
7. Save it
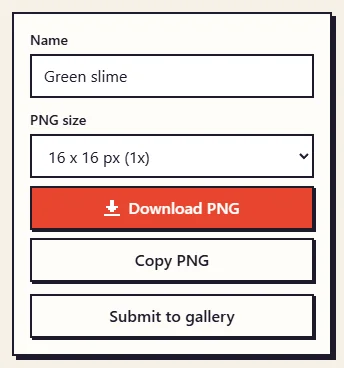
Give it a name, then choose the PNG size. For a game, pick 16 x 16 px (1x), the true size; your game engine scales it up. For sharing, choose a larger size such as 256 x 256 or 512 x 512, where each square becomes a crisp block instead of a blur.
Your drawing is also saved in your browser as you work. To keep it safe or move it to another device, use Copy pattern code in the export section and keep that text somewhere.
Make it real
A 16 x 16 sprite also makes a quick craft project. Open Make it by hand under the editor for the colour counts and a printable chart. Our slime needs 138 beads or stitches in 5 colours: 79 green, 42 black, 12 dark green, 3 white and 2 pink. On a 5 mm bead pegboard it is 8 cm across.
Tips
- Silhouette first. If the outline alone is recognisable, the sprite will read well at any size.
- Avoid single stray squares of a colour in the middle of another. At 16 x 16 they look like noise.
- Undo freely. Ctrl+Z keeps the last 100 steps, so try things.
- Want animation frames? Draw the first pose, save it, then change a few squares for the next pose and save it under a new name.
Ready to try it with your own picture?
Open the editor