How to print pixel art as a poster
Updated 17 November 2026
By the end of this guide you will have a pixel art poster made from your own picture, ready to print on one sheet of paper. We will turn a wide picture of a mountain lake at dusk into an A3 print, and see how the number of squares changes the look.
You need: a picture and a printer. If your printer cannot take A3, a copy shop can print the file for you.
1. Add your picture
Open the converter and drop your picture on the box, paste it, or tap Choose image. Your picture stays on your device. Landscapes, skylines and simple scenes make good posters because they have big shapes and smooth changes of colour. Our example is a wide mountain lake with a moon.
2. Choose Print, then your paper
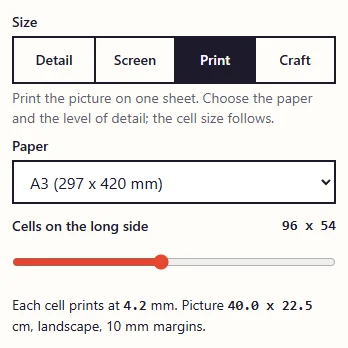
Under Size, choose Print. Pick your paper in the Paper list: A5, A4, A3, US Letter or Tabloid. Then set Cells on the long side. A cell is one square of the pixel picture.
With A3 and 96 cells, the converter tells you what you will get: each cell prints at 4.2 mm, and the picture is 40.0 x 22.5 cm, landscape, with 10 mm margins. Wide pictures turn the page to landscape on their own, so there is nothing to rotate.
3. Decide how chunky it should be
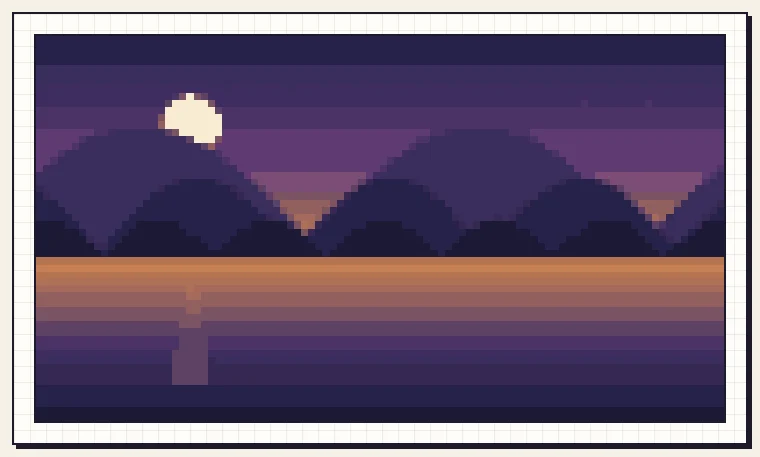
Cells on the long side is the one slider that changes the whole look. Fewer cells mean bigger squares. More cells mean finer detail. Here is our lake at 96 cells on A3:
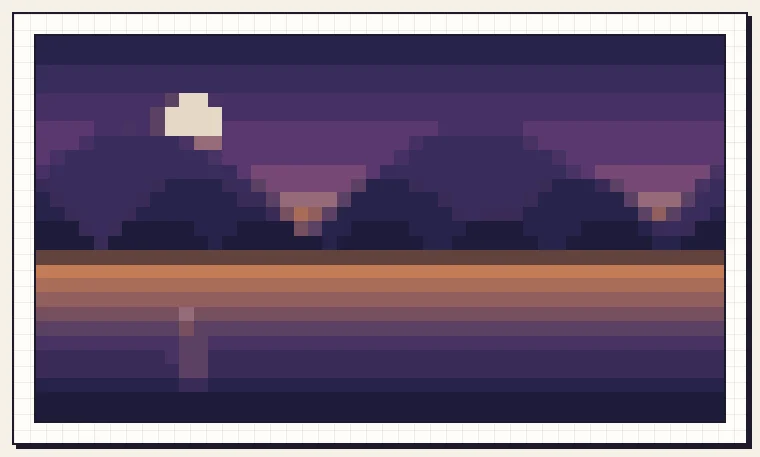
And at 48 cells on A3, each square prints at 8.3 mm. This is bold and easy to read from across a room, but the moon and the lake reflection are only a few squares each.
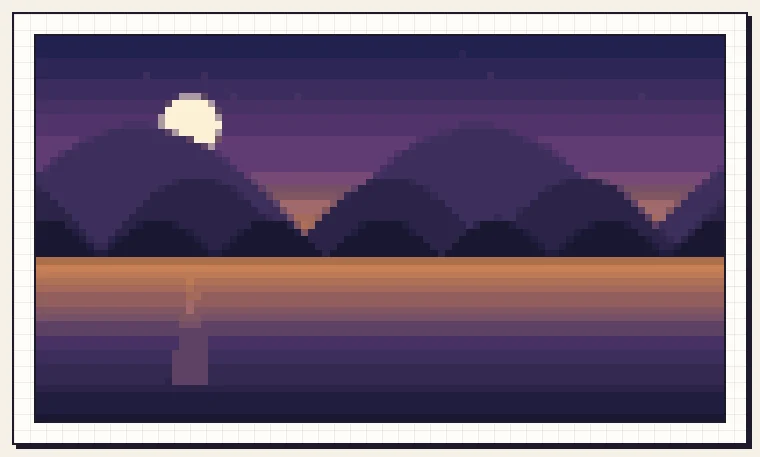
Going the other way, 160 cells on A3 gives squares of 2.5 mm. That looks close to a normal picture from a distance and shows its pixels only when you step up to it. Pick the one that matches where the poster will hang.
4. Check what your paper does
The same 96 cells on smaller paper makes smaller squares, because the picture shrinks with the sheet.
- A4: each cell prints at 2.9 mm, and the picture is 27.7 x 15.6 cm.
- A5: each cell prints at 2.0 mm, and the picture is 19.0 x 10.7 cm.
If the squares look too small to enjoy, lower the number of cells or choose bigger paper.
5. Choose the colours
Leave Palette on Free colour and set Number of colours to 24. A dusk sky has many close shades, so a few extra colours keep the bands smooth. For a bolder, more graphic poster, try a lower number and watch the preview. A retro palette such as PICO-8 gives a strong game look, but it has only 16 fixed colours and can merge the mountains into the sky.
Untick Grid lines if they are on. Grid lines only help when you count squares, and they are never printed in this picture PDF.
6. Download the PDF
Below the preview, click Print PDF (A3). The button shows the paper you chose. It downloads a one-page PDF with the picture centred inside the margins.
The PDF is vector, which means every square is drawn as a shape, not as a grid of dots. The squares stay sharp at any printer resolution and do not blur when the printer scales them.
7. Print it well
- Print at 100% or "actual size". Turn off any "fit to page" option, or the margins and cell sizes will change.
- Pick the paper you like. Matte paper hides fingerprints and glare; photo paper makes colours look richer. Both work for flat blocks of colour.
- No A3 printer? Take the PDF to a copy shop and ask for A3 at actual size.
- Frame it with a border. The 10 mm margin is already white, which suits a frame with a mount.
Tips
- Print a test at A4 first. It is cheap, and you can see whether the colours and the chunkiness are right before using A3.
- To touch up a few squares, click Edit pixels to open the pattern in the editor.
- The numbered chart under Make it by hand is a different thing. It is a stitching or bead chart with symbols and a colour list, and it is made for crafts, not for hanging on a wall.
Common questions
Can I print on a size that is not in the list?
Choose the closest size in the list, then set a custom scale in your printer's dialog. The squares grow or shrink by the same amount, so the cell size shown in the converter will no longer be exact.
Why is there a white border?
Most printers cannot print right to the edge, so the converter leaves 10 mm on every side.
Ready to try it with your own picture?
Open the converter